Expo Supabase Auth Config
Docs:
Supabase Auth Config
Create and account on https://supabase.com
Create a new project
Go to
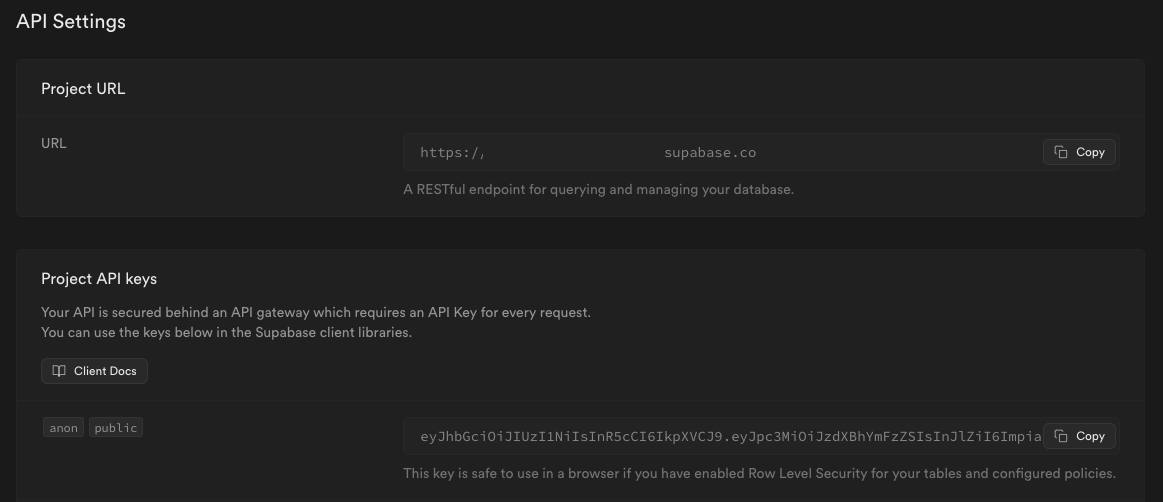
Project Settings > APICopy the
URLandKeyand add it to the.envfile as below (.env.example):bashEXPO_PUBLIC_SUPABASE_URL=<url> EXPO_PUBLIC_SUPABASE_KEY=<key>screenshot
Supabase Google Sign In
Google Console API
Select the project you created before
Click on
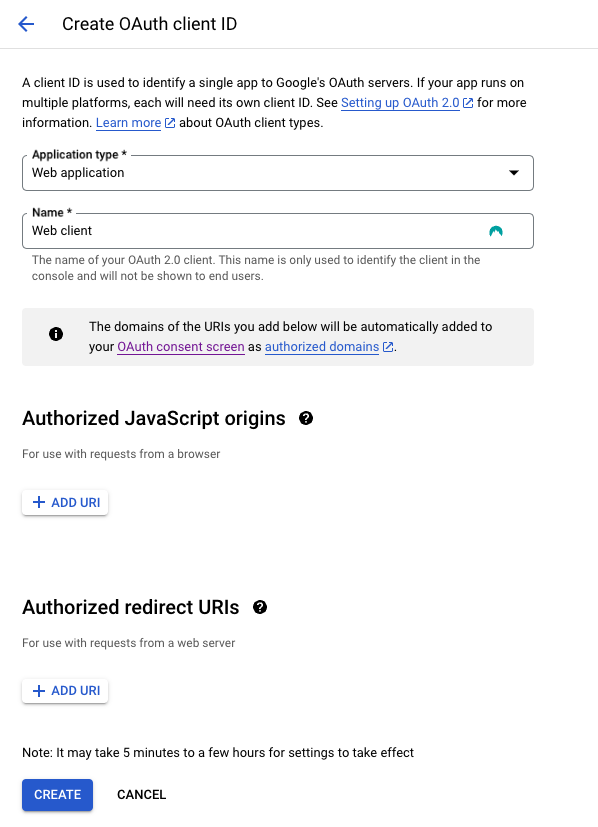
Create Credentialsand selectOAuth client IDSelect
Web applicationand fill in the required fields and clickCreatescreenshot
Copy the
Client IDand add it to the.envfile as below (.env.example):bashEXPO_PUBLIC_GOOGLE_WEB_CLIENT_ID=<client-id>Save the
Client Secretfor later. You will need it to configure theSupabase Google Provider
Supabase Google Config
- Go to
Authentication > Providers - Enable
Googleand add theClient IDandClient Secretfrom theGoogle Console APIsection abovescreenshot

- Click
Save
Supabase Apple Sign In Config
Apple Developer Portal config
1. Create an App ID
- Go to https://developer.apple.com/account/resources/identifiers
- Click on
Identifiersand then+
- Select
App IDsand clickContinue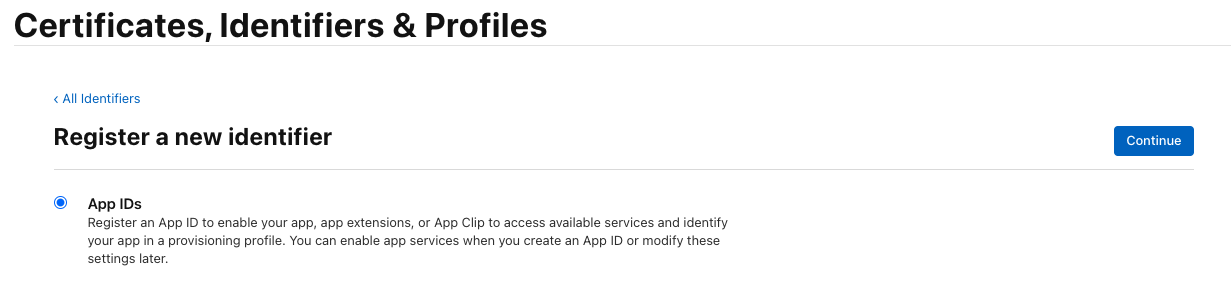
- Select
Appand clickContinue
- Fill in the required fields:
- Description: Enter a description for your App ID
- Bundle ID: Use the one from
app.jsoninexpo.ios.bundleIdentifier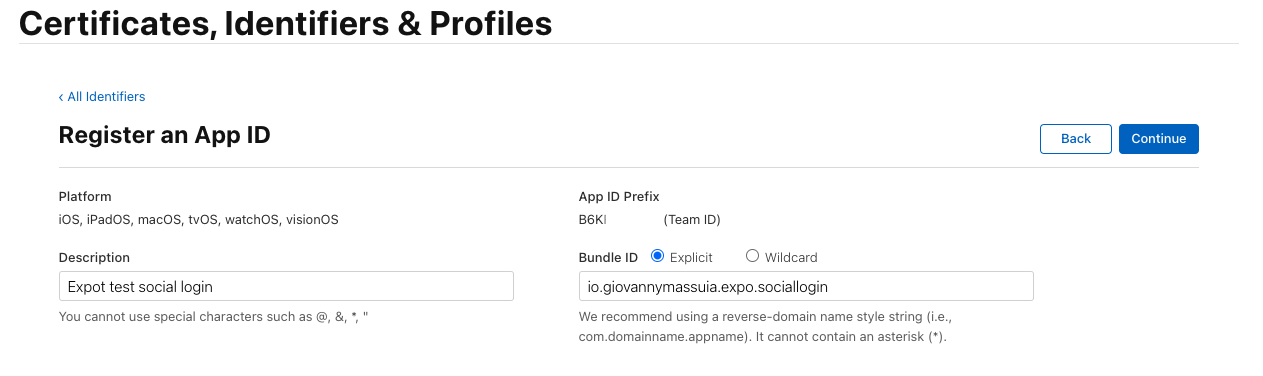
- Capabilities: Select
Sign In with Apple
- Click
Continueand thenRegister
INFO
If you already have an App ID, you can edit it and add the Sign In with Apple capability.
2. Create a Service ID
- Go to https://developer.apple.com/account/resources/identifiers
- Click on
Identifiersand then+
- Select
Services IDsand clickContinue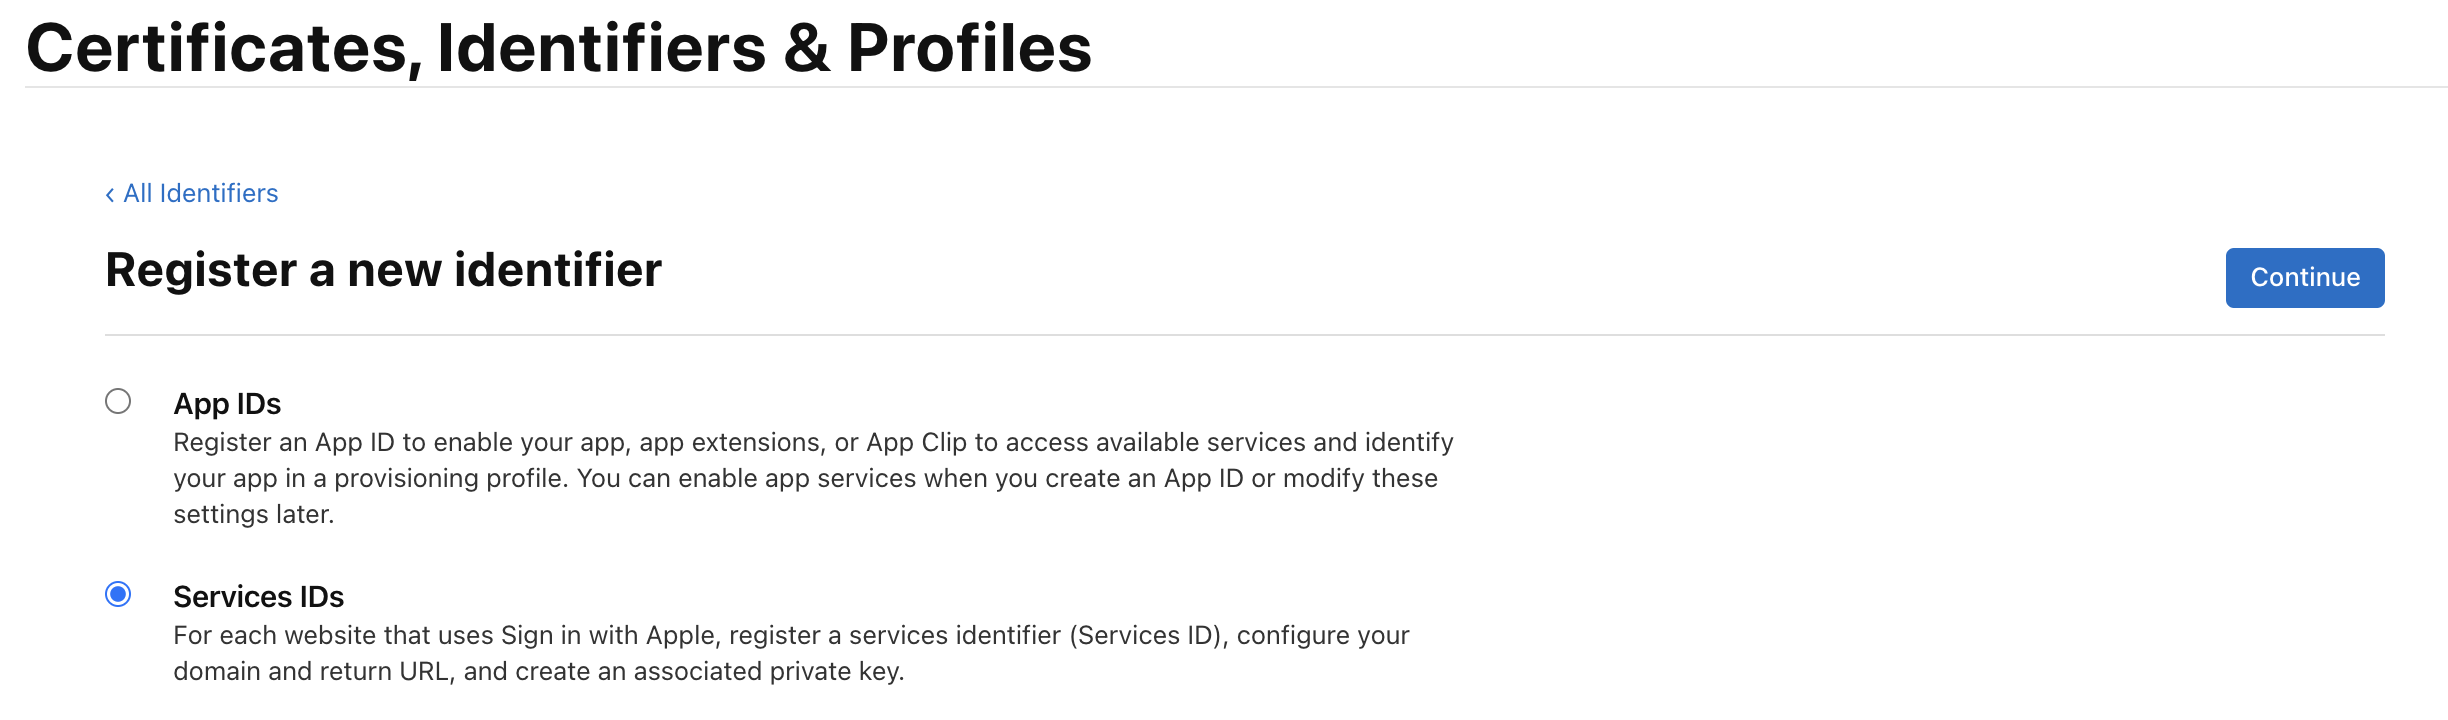
- Fill in the required fields:
- Description: Enter a description for your Service ID
- Identifier: Use the one from
app.jsoninexpo.ios.bundleIdentifierwith a suffix ofservice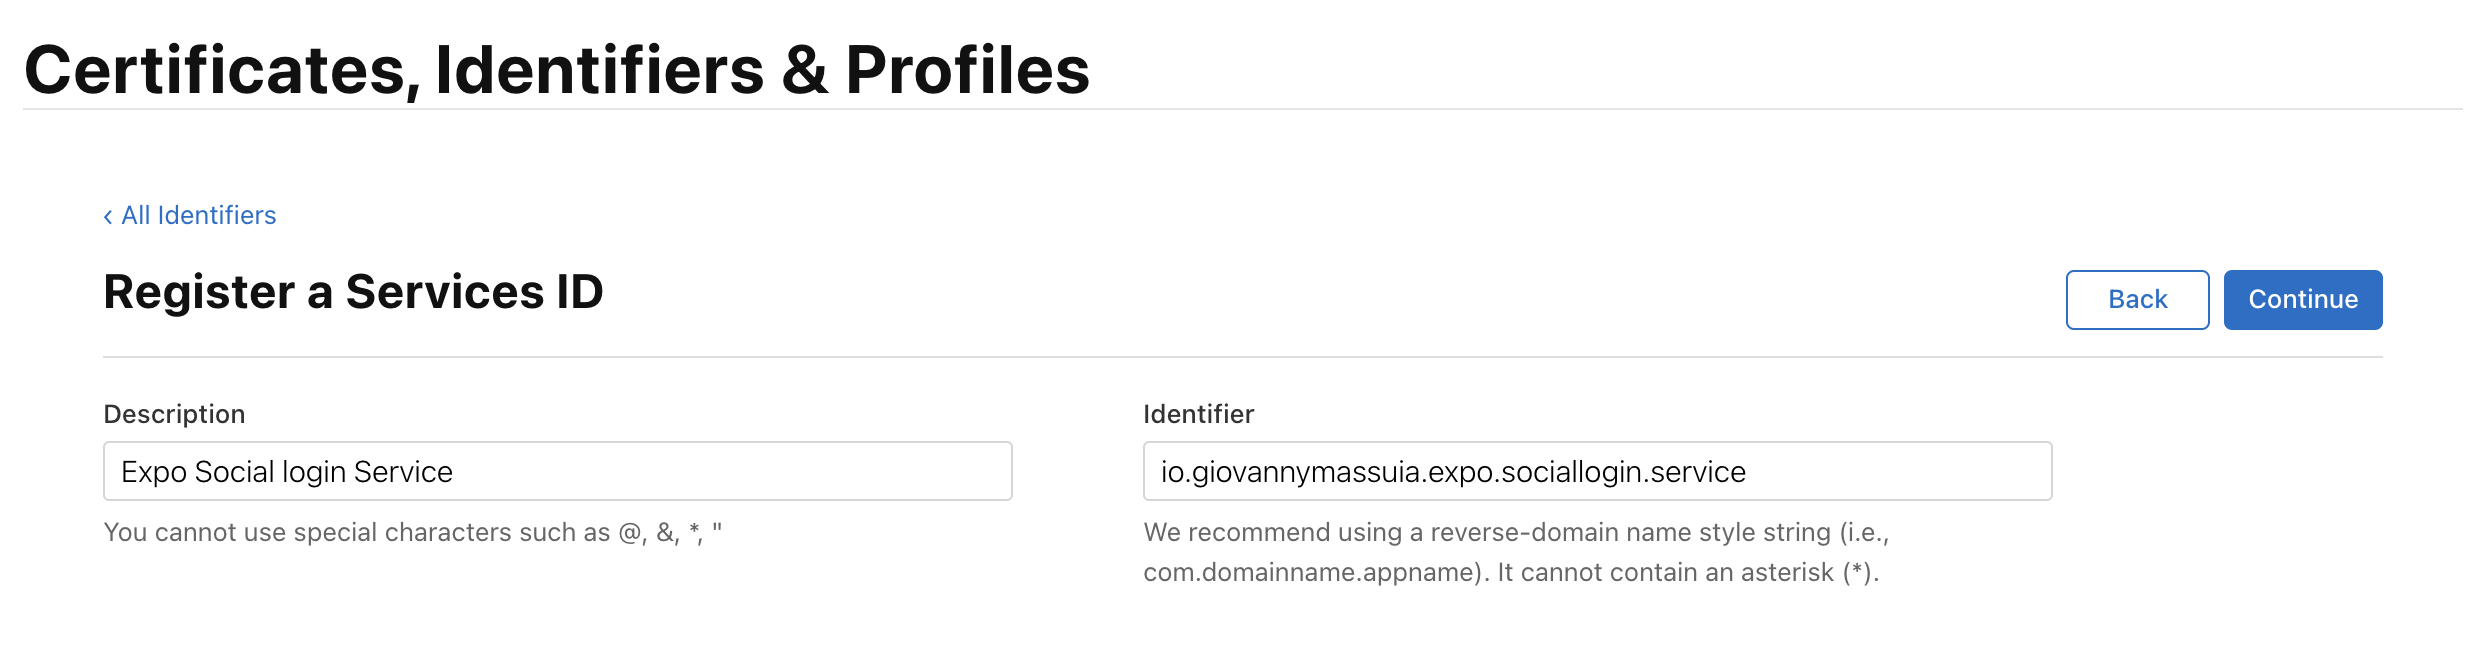
- Click
Continueand thenRegister
- Go back to the
Identifierspage and select theService IDyou just created- Select
Sign In with Appleand clickConfigure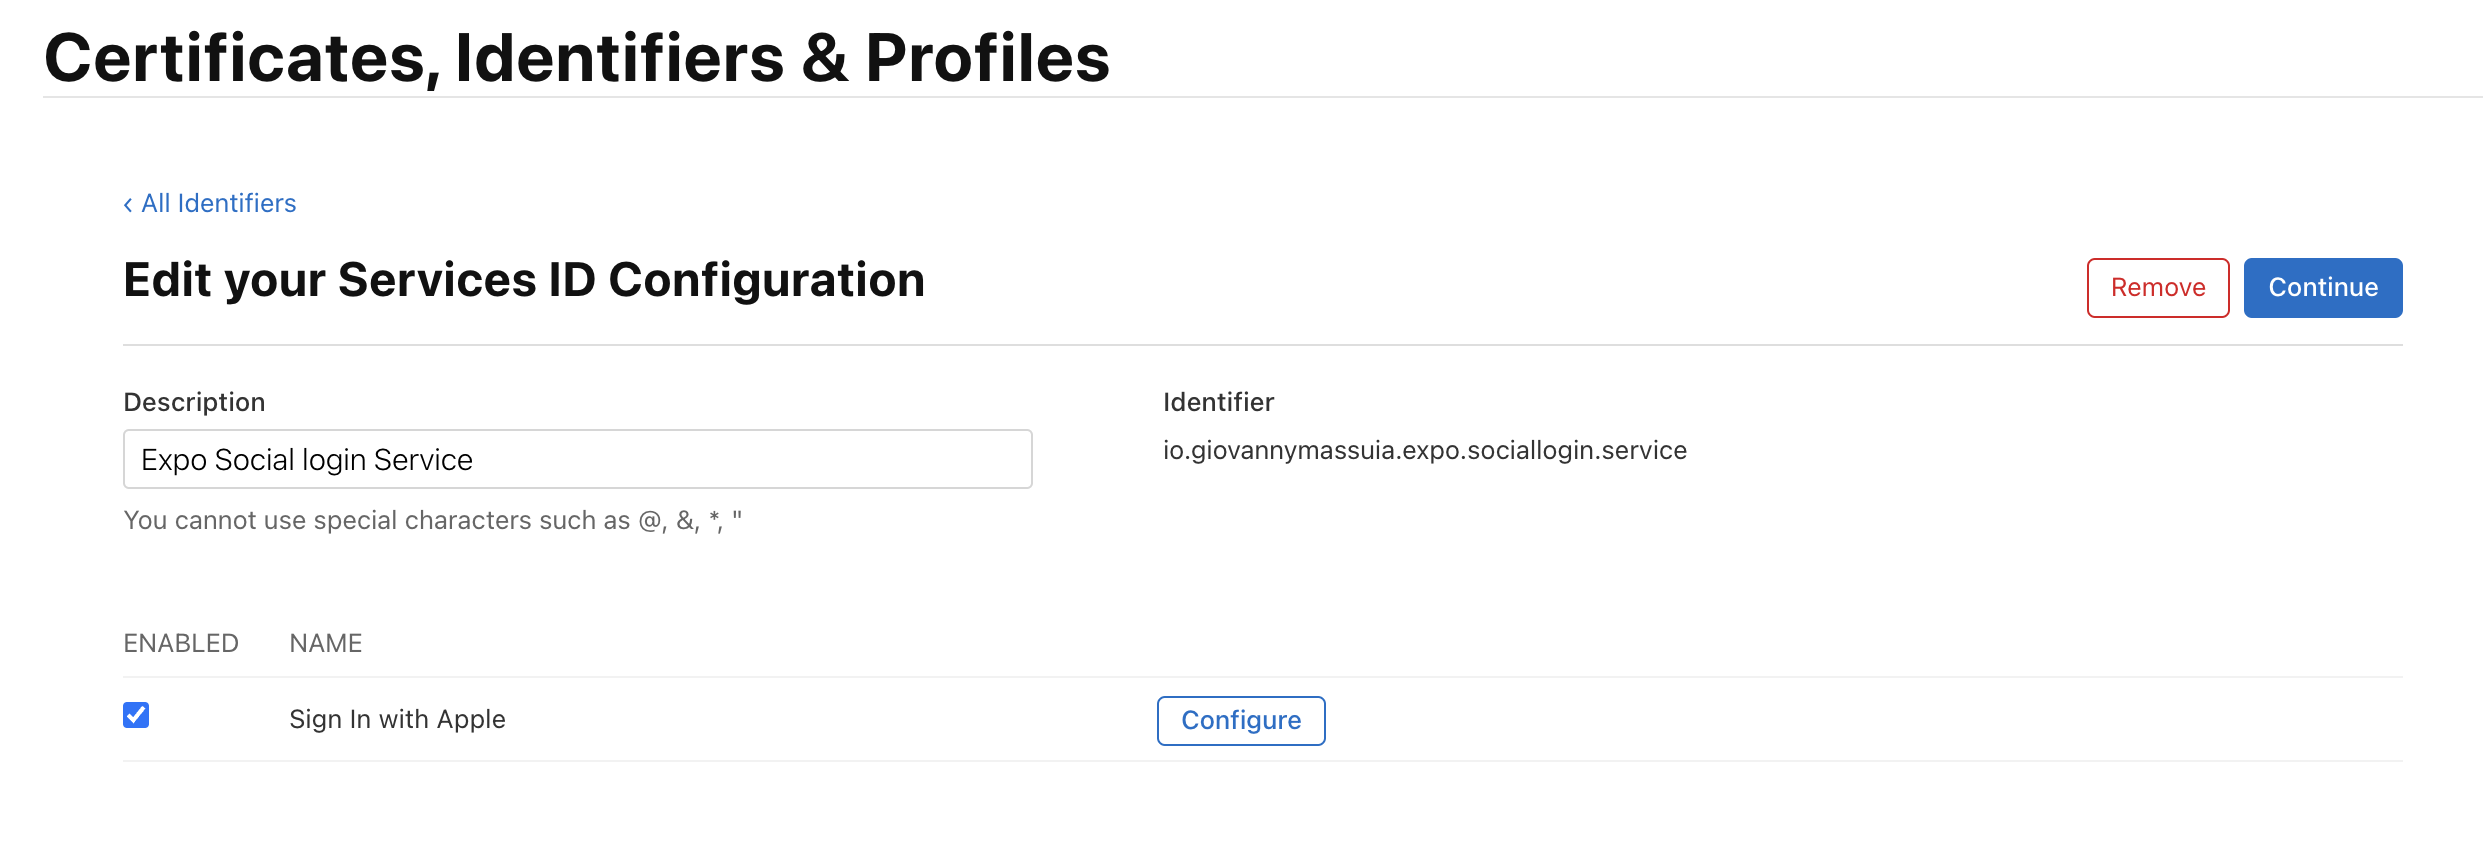
- Select the App ID you created before as the
Primary App IDand clickSave - Add to
Domains and SubdomainstheURLfrom theSupabase Auth Configsection above - Add to
Return URLsthe SupabaseURLwith the path/auth/v1/callback
- Click
Nextand thenDoneto close the modal - Click
Continueand thenSave
- Select
3. Create a Key
- Go to https://developer.apple.com/account/resources/authkeys/
- Click on
Keysand then+
- Fill in the required fields:
- Key Name: Enter a name for your key
- Sign In with Apple: Select the
Sign In with Applecapability- Click
Configureand select the App ID you created before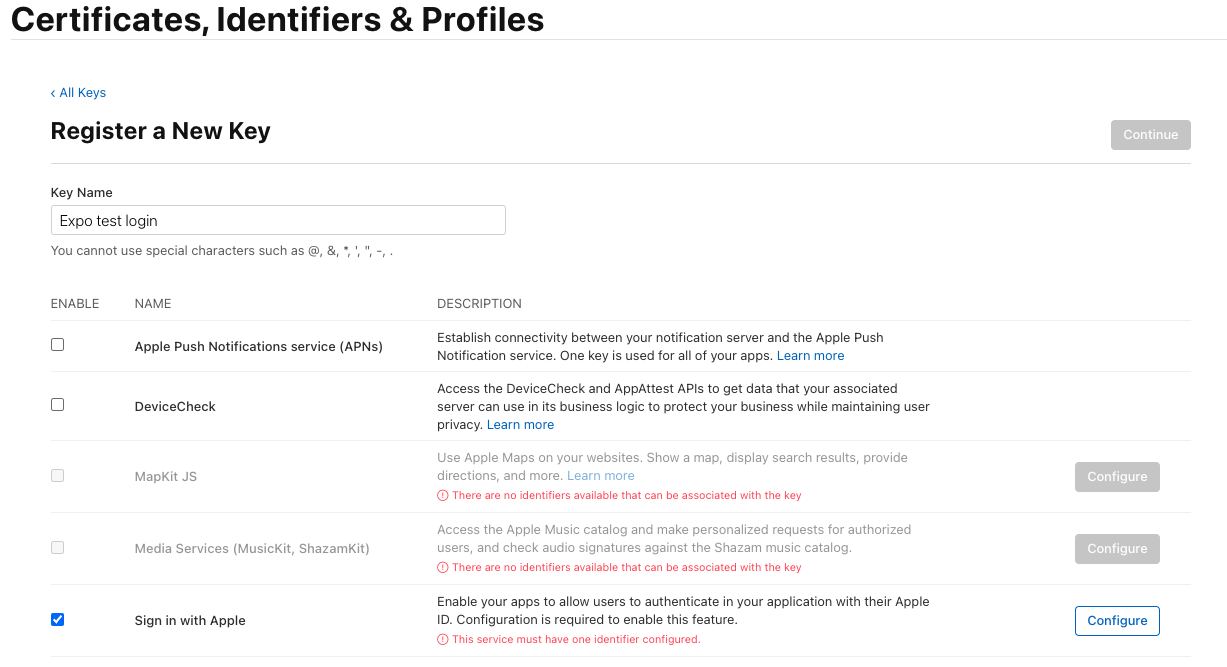
- Click
- Click
Continueand thenRegister
- Download the
.p8file- We will need to create a jwt token with this file later
Supabase Apple Config
- Go to https://supabase.com/docs/guides/auth/social-login/auth-apple#configuration-web
- Here we wil luse the
.p8file we downloaded from theApple Developer Portalsection above to generate ajwt token - Upload the file and enter the
Account IDandService IDfrom theApple Developer Portalsection aboveAccount IDcan be found at the top right corner of theApple Developer PortalpageService IDcan be found in theService IDpage. It's theIdentifierfield
- Here we wil luse the
- Go to
Authentication > Providers - Enable
Apple- Add the
Service IDandSecret Key (jwt) - Add to the
Authorized Client IDstheApp IDyou created before. It should be the same as theBundle IDinapp.jsoninexpo.ios.bundleIdentifier.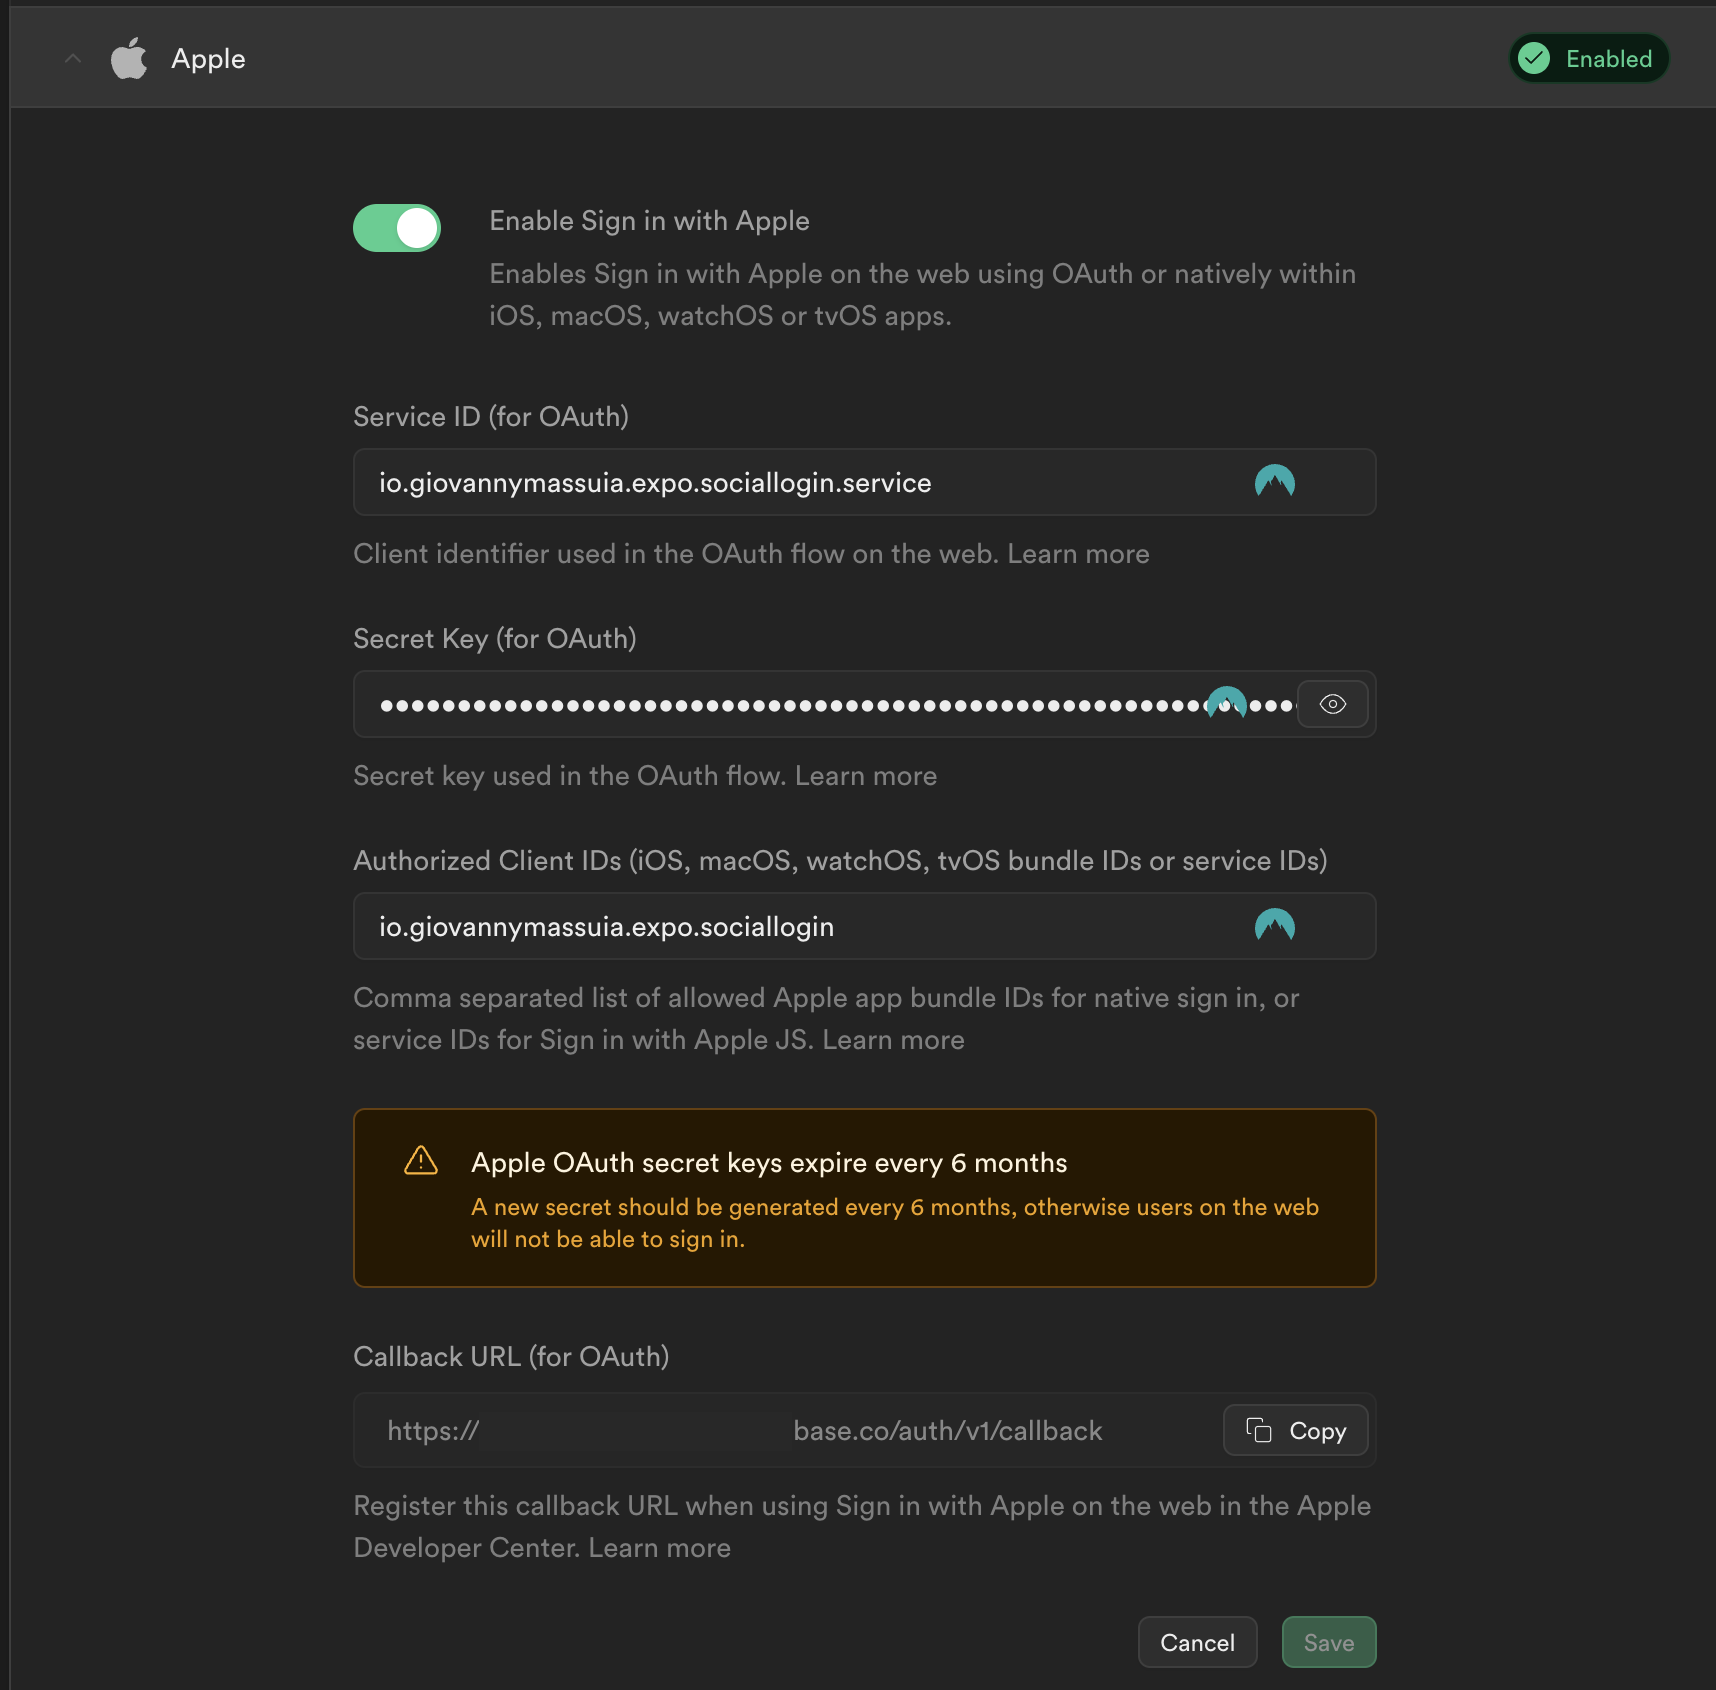
- Add the
Supabase Client config
git commit: supabase config #b5ae9b5
- In the project, install
supbase-jsand required dependencies:
npx expo install @supabase/supabase-js @react-native-async-storage/async-storage react-native-url-polyfill
- create a
supabaseclient: utils/Supabase.ts
Google Sign In with Supabase
- Modify the
App.tsxandGoogleSignIn.tsxto use thesupabaseclient:- Follow the changes on this commit
Apple Sign In with Supabase
- Modify the
App.tsxandAppleSignIn.tsxto use thesupabaseclient:- Follow the changes on this commit